Spring 2020 One Room Challenge - Week 4: DIY Shaker Peg Shelves
/It’s already Week 4 of the Better Homes & Gardens One Room Challenge , we’re at the halfway mark and panic is officially setting in! There is so much to do and wow - fingers crossed that we get this done! On a positive note, more restrictions for contractors have been lifted here and my brother Paul from Brancon came over for a quick consult to take a look at some of the things we would need help with including:
seeing if we could move an electrical outlet, washer taps and dryer plug to hide them behind the washer and dryer
hiding the dryer vent from view in the laundry room while still venting outside
installing the sink
hanging an antique door
We booked a plumber for next Tuesday which is great news but until that is done we can’t close up the walls to paint and install the flooring. So … we switched gears a bit and started working ahead on some of the finishing touches for the laundry room including building shaker peg shelves.
DIY Shaker Peg Shelves
I started following The Grit and Polish on Instagram a few months ago and after seeing them build a few different versions of shaker shelves I knew I wanted to try the peg ones for our laundry room.
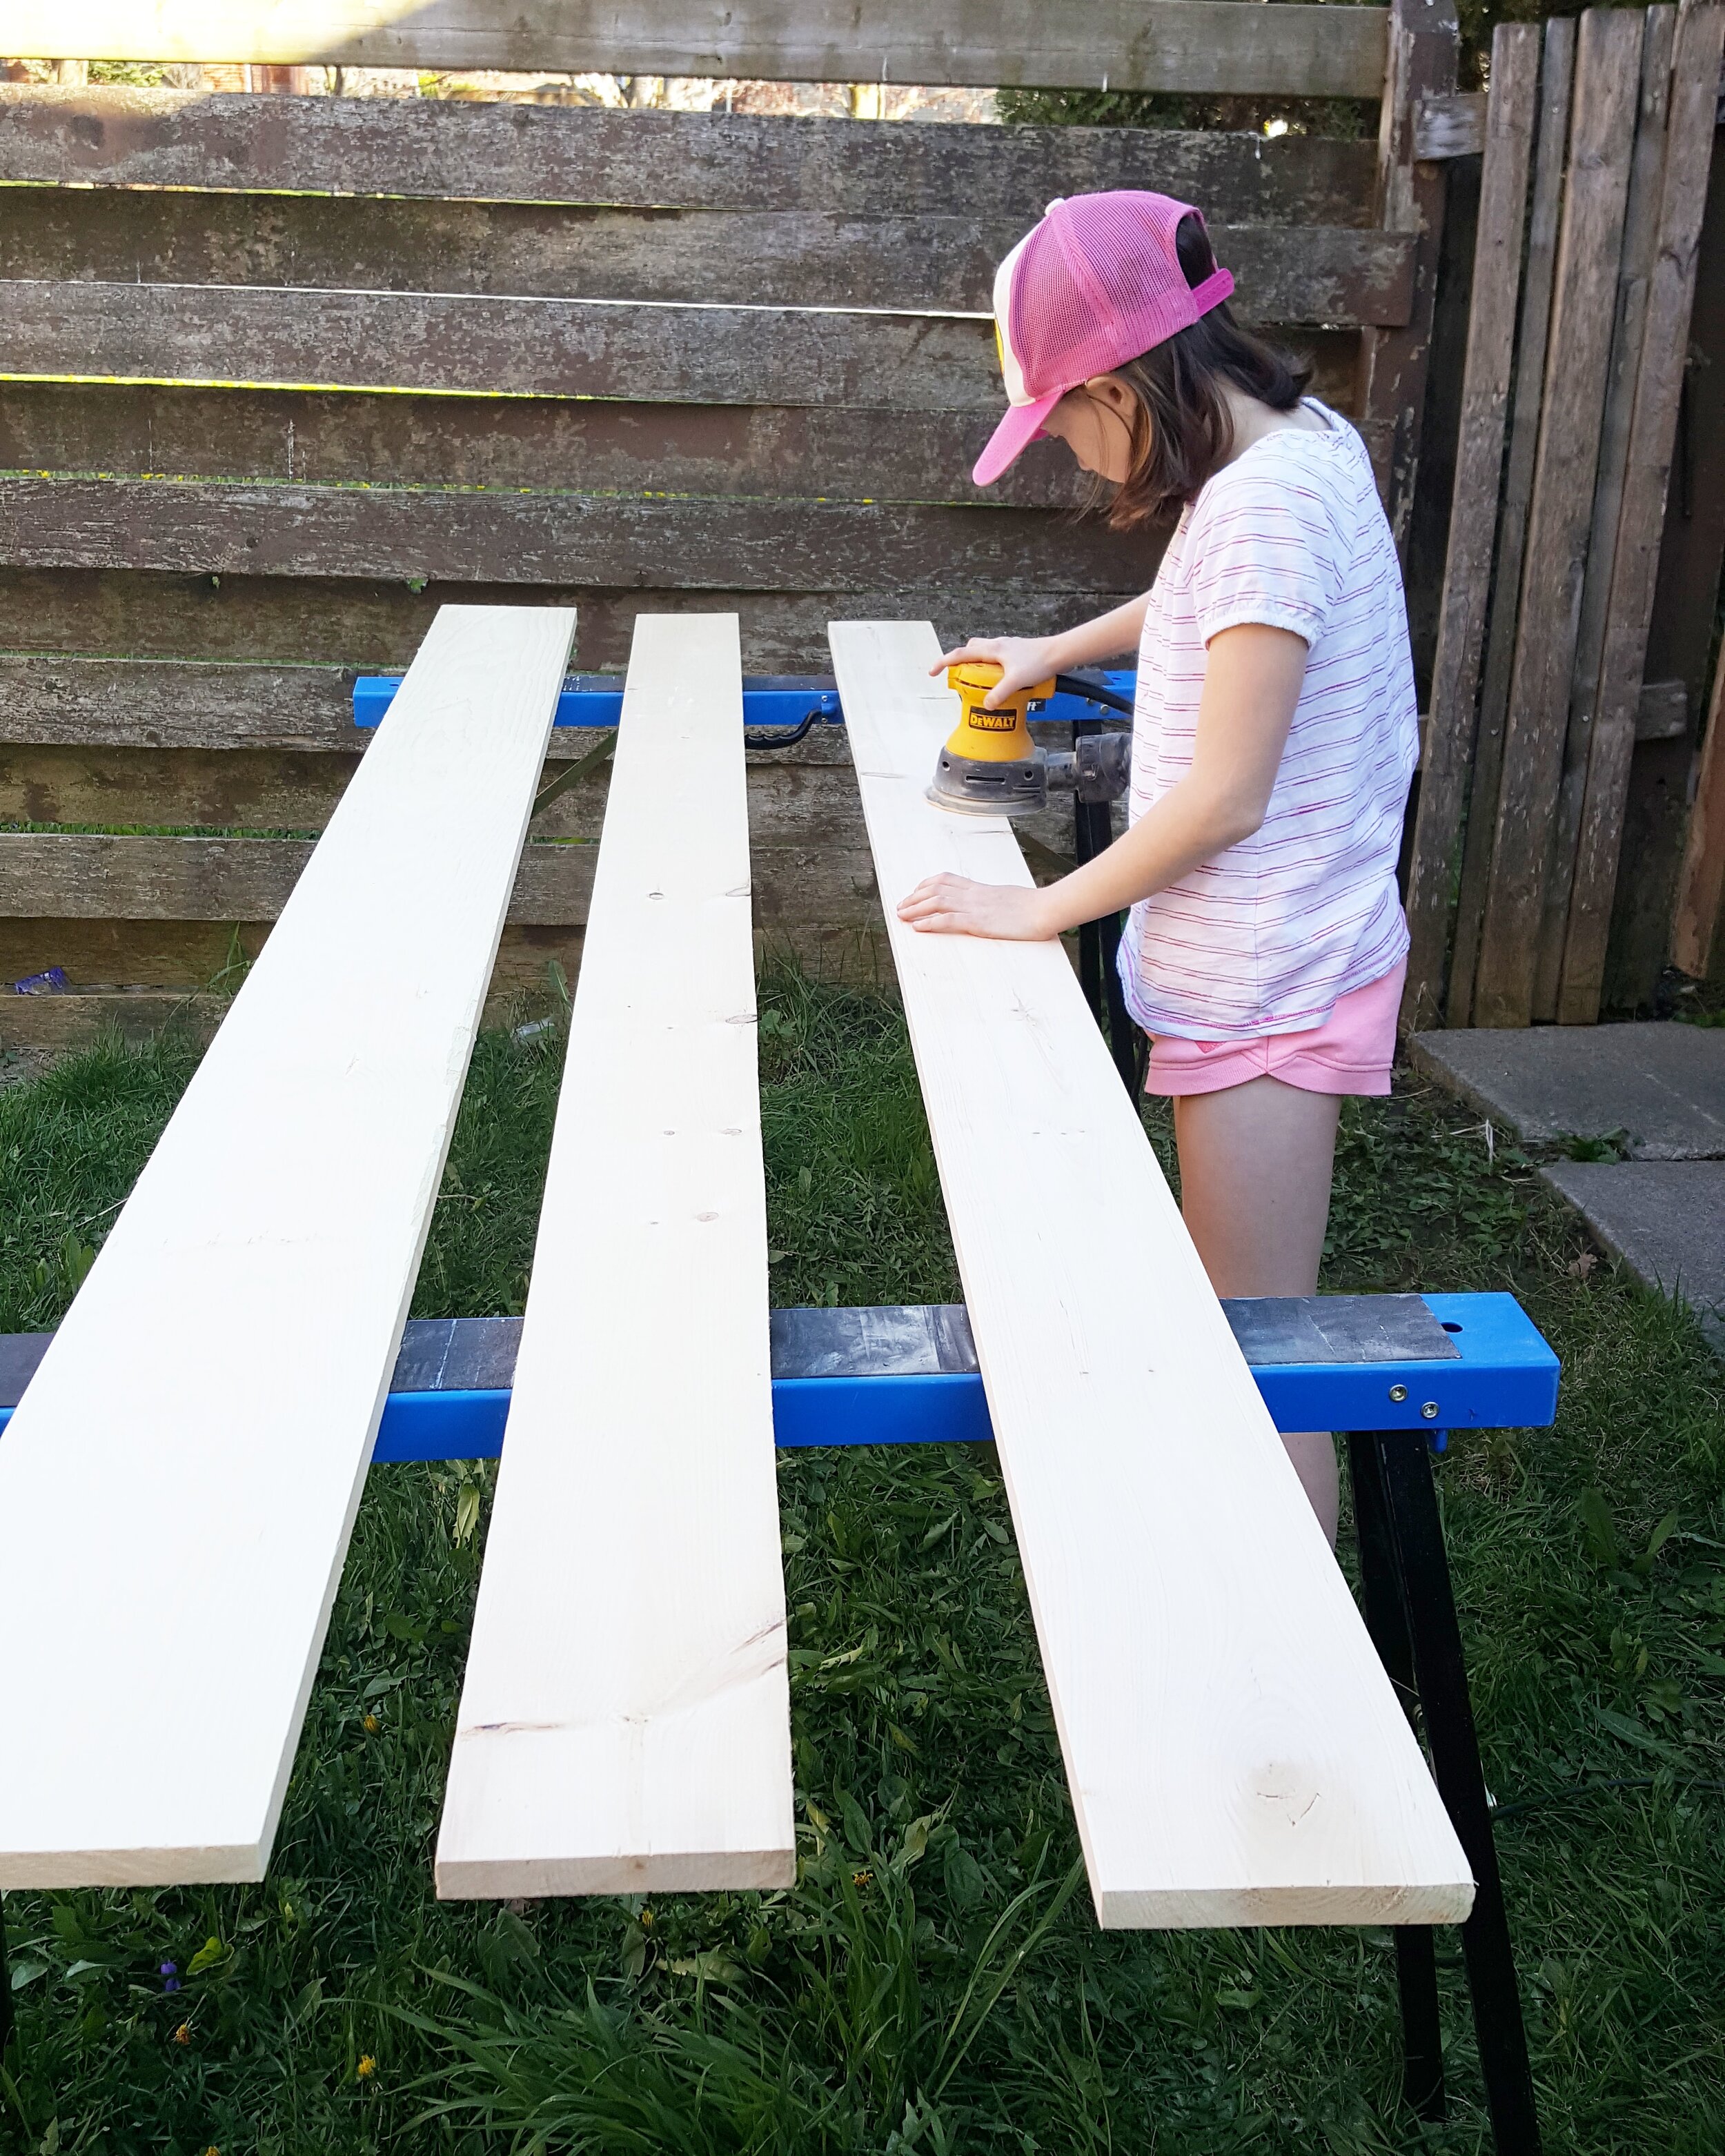
We read their tutorial, materials list and watched their video and Grant and I thought this would be a great project to work on with Matthew and Lily. The munchkins watched the video and were really excited to get started … with sanding! This was the first time they used palm sanders and they had a blast. I think Matthew spent about 45 minutes on one board, making it perfectly smooth and shaving about a half an inch off.
Next, Grant taught us how to use the mitre saw to cut one of the boards into squares to make support brackets for the shelves.
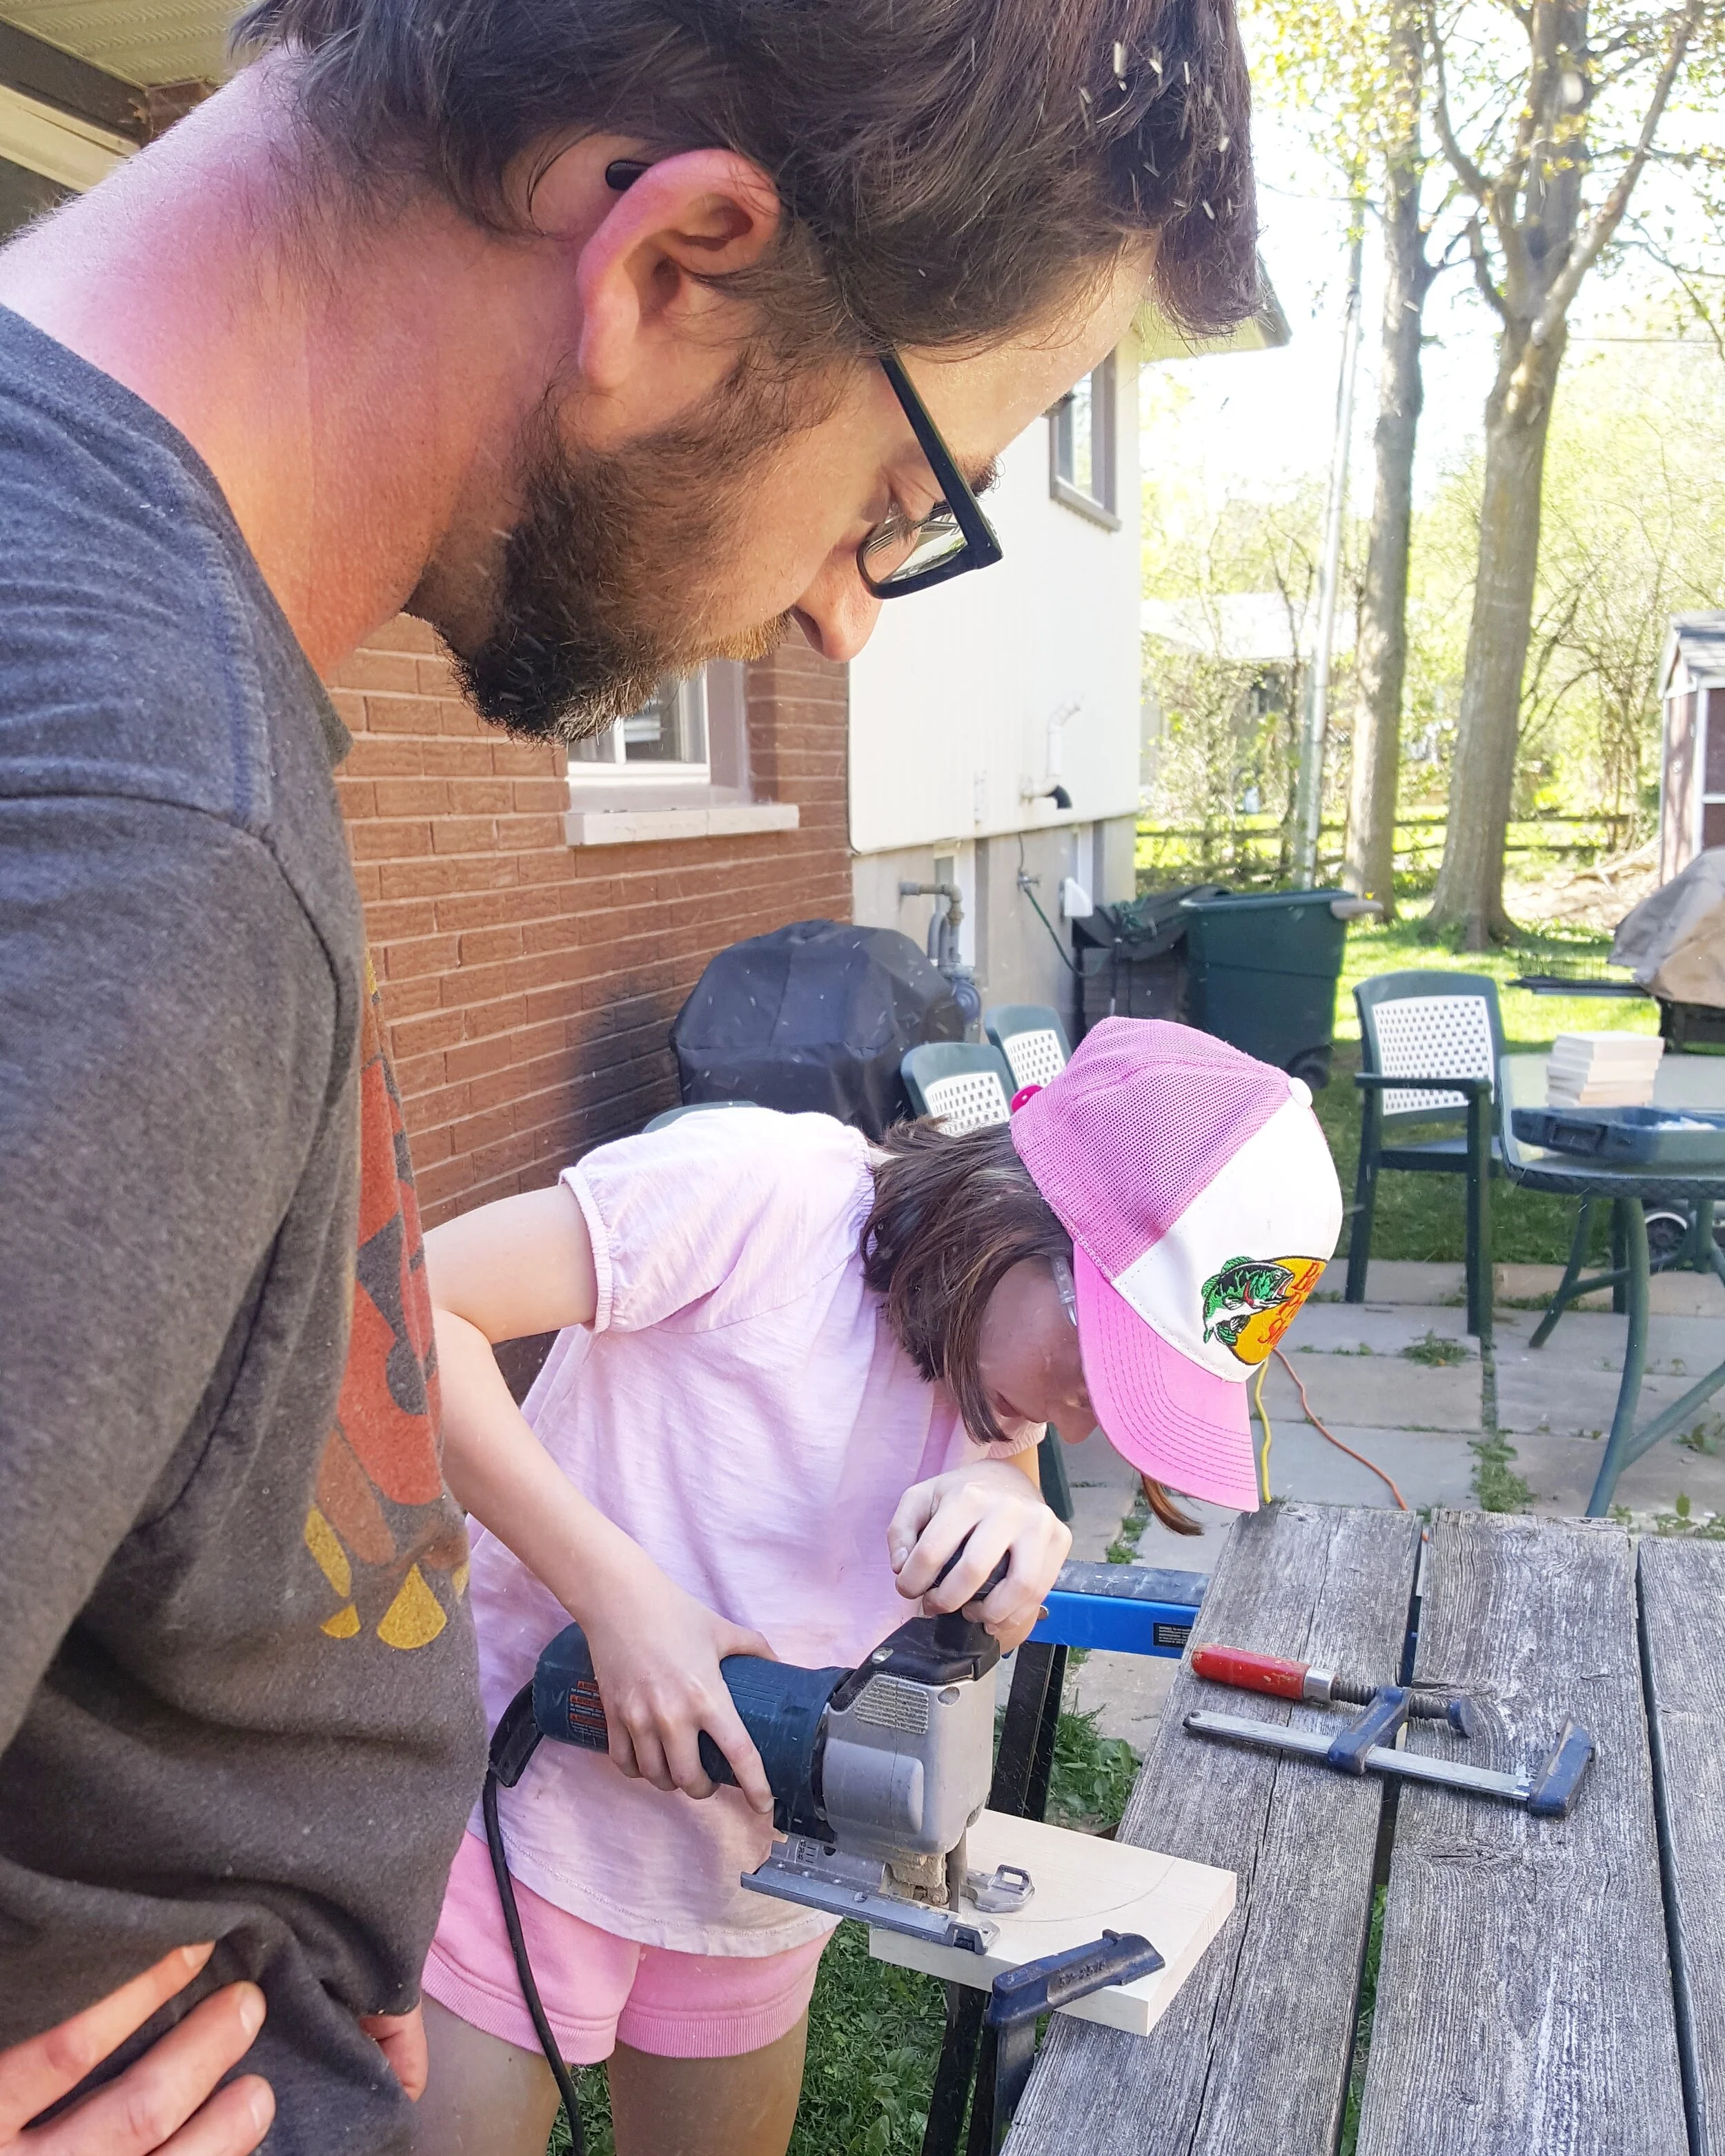
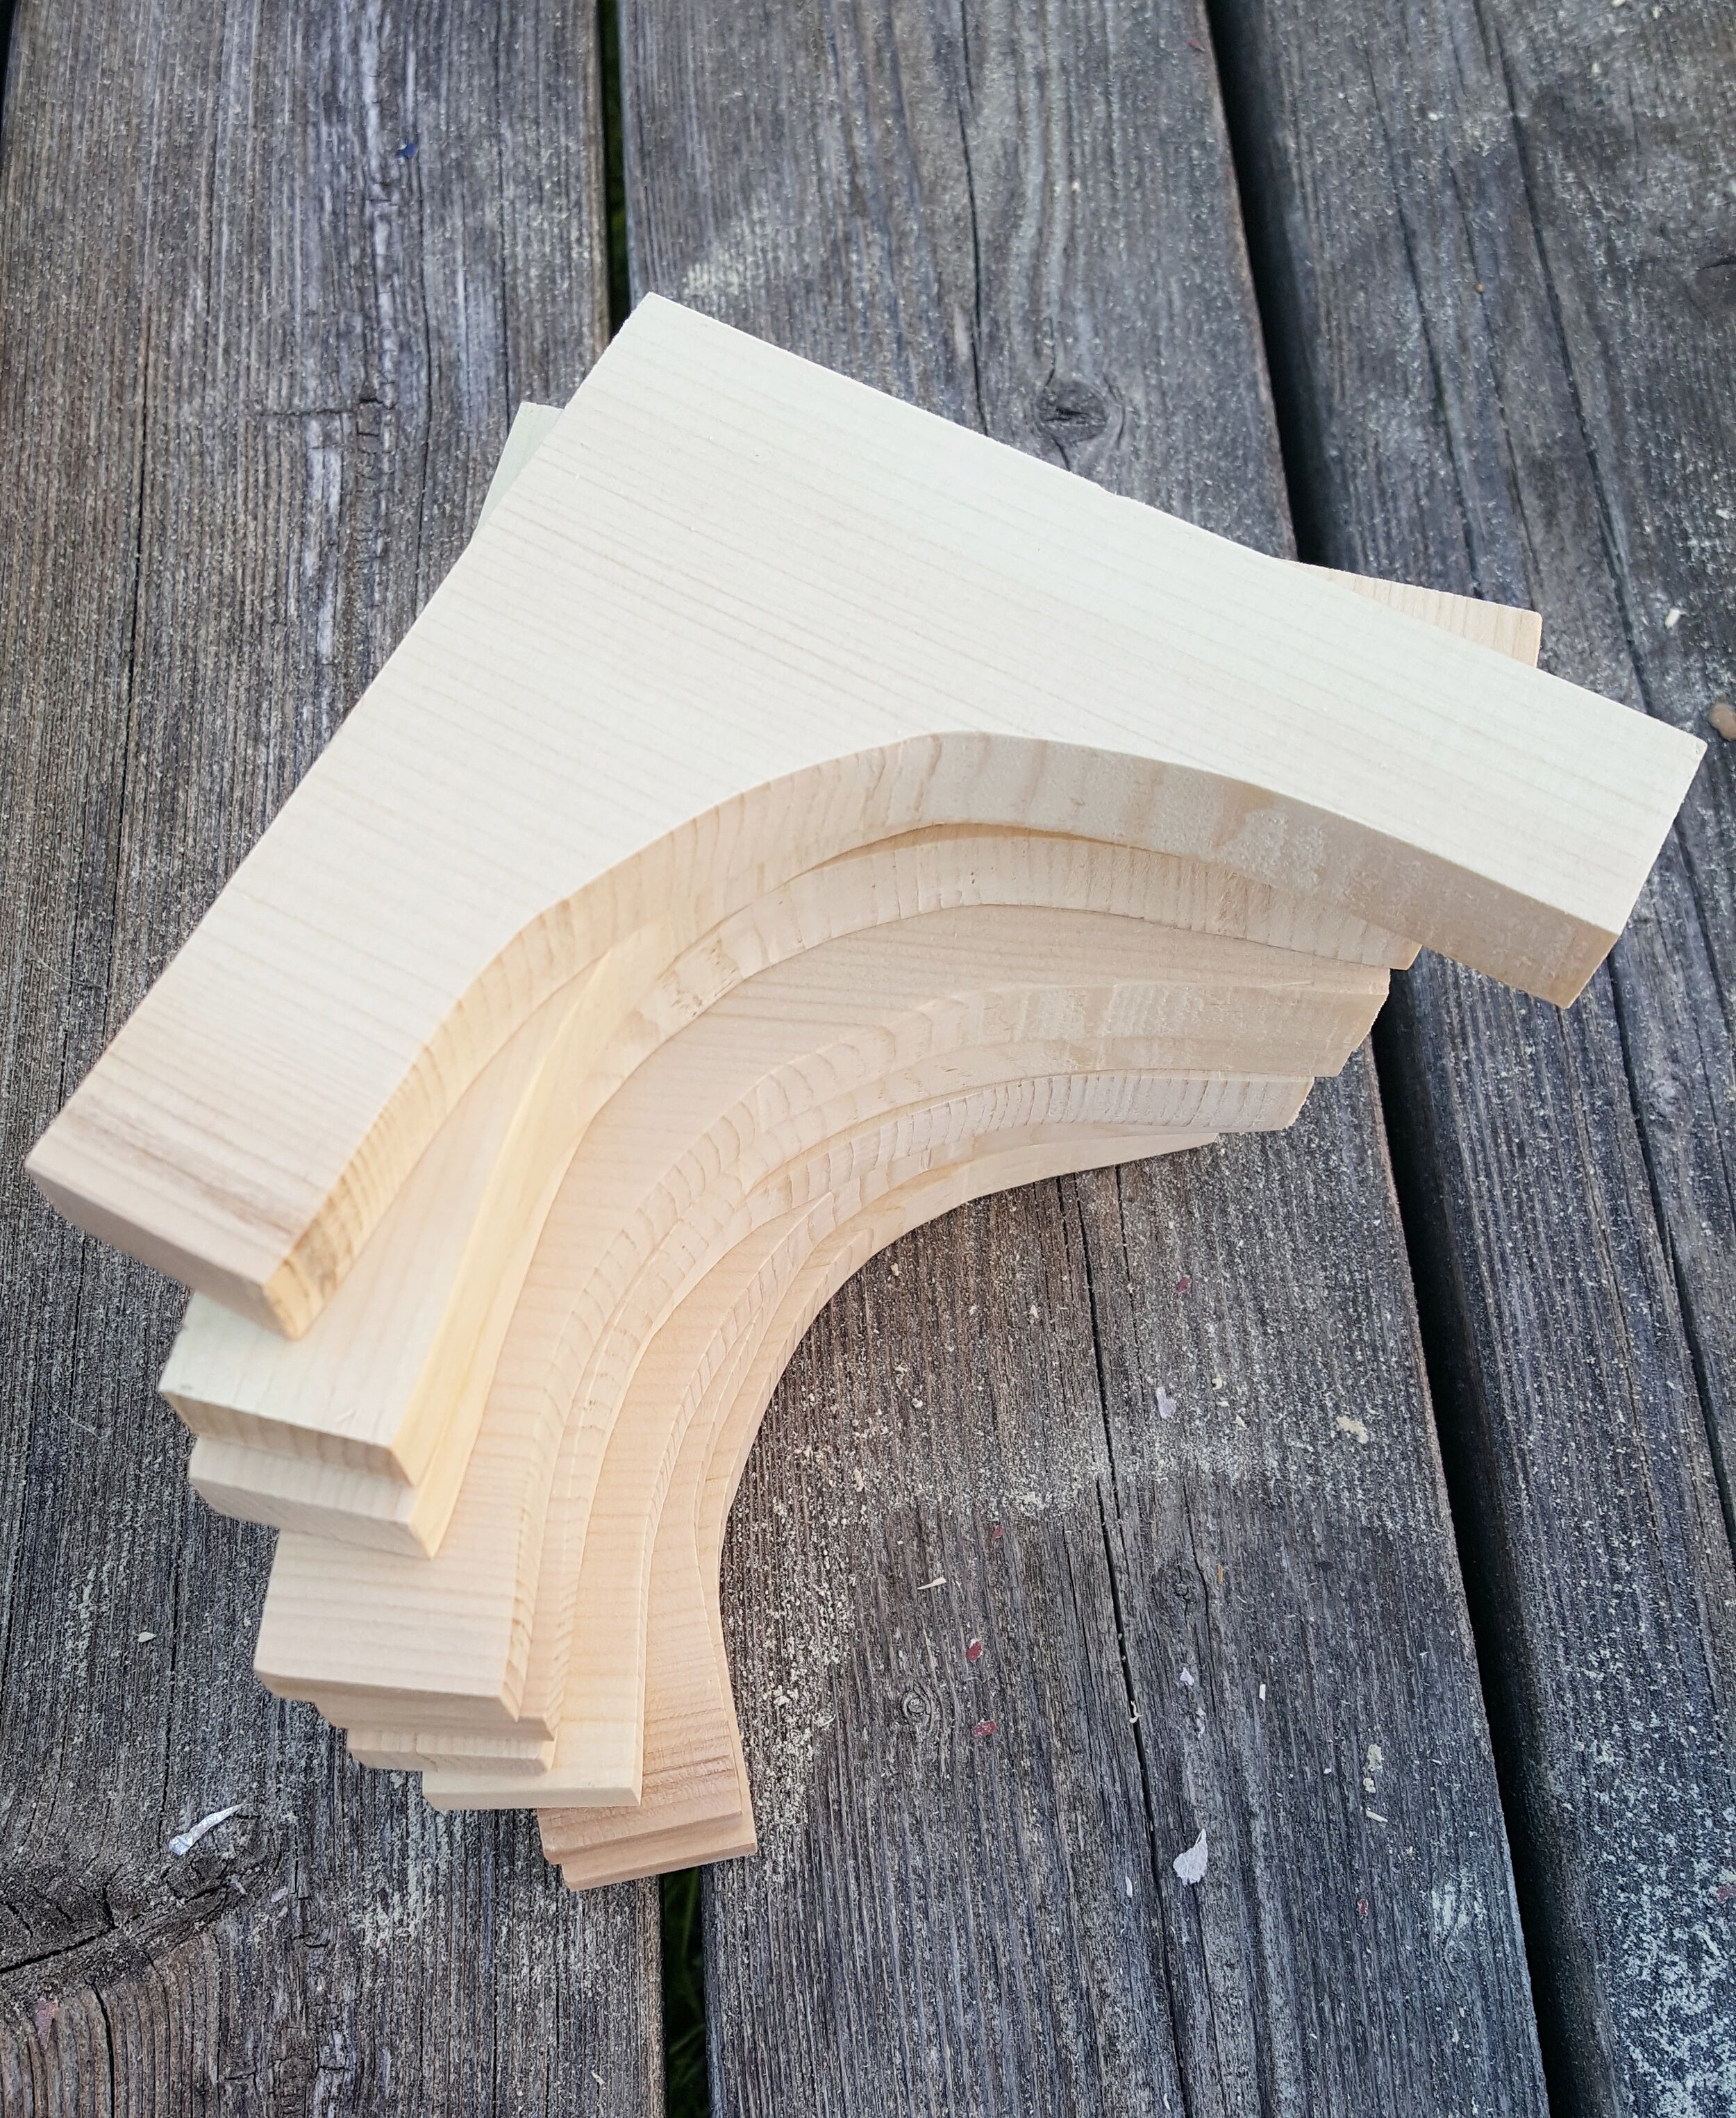
Then, we shaped the squares with a jig saw and sanded them smooth to wrap day one of woodworking!
On day two we started in the garage by drilling holes in the back boards to place the pegs.
Then we glued the pegs and dropped them into the freshly drilled holes.
Grant finished the shelves by attaching the brackets and the top shelf.
We are so happy with how these turned out and can’t wait to prime and paint them the same colour as the laundry room walls! For more details on this room as well as others, take a look the One Room Challenge site where you can see what other guest participants and featured designers are doing as we head into the second half of the challenge.
Carley


